Luscombe Sedan Model
With the cold January winds howling outside the shop I took time for a wood working project that has been waiting for me for almost 14-years. Sometime in 1999 I purchased a balsa wood airplane kit, set it on a shelf in the shop, and forgot all about it. While cleaning up in the finish room I ran across it and instead of finding another place to store it I decided to begin the project. The postcard image of this aircraft was used to promote the design in 1949. It was designed as a flying farmer aircraft with four seats but the company went bankrupt before the aircraft gained much success. 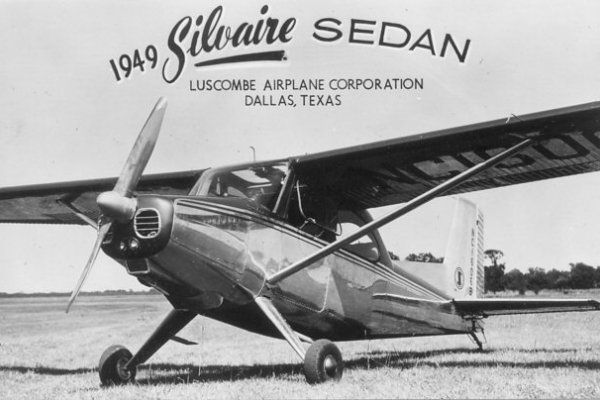
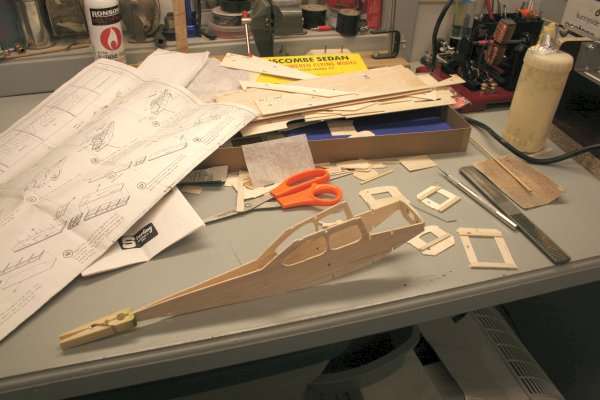
This kit, when finished, will produce a 21-inch wing span airplane that is powered by a rubber band. This is a bit of an unsual kit in that it is all balsa wood instead of the typical tissue covered frame work. There was also tissue paper included to use instead of paint, which the instructions indicated would make it lighter and increase its flight time. The die-cut sheets had all the parts ready to remove and glue together and the instruction sheet is a large format drawing. At the time I purchased the kit I made copies of the print to use as templates required in construction so I would not need to ruin the original instruction sheet. 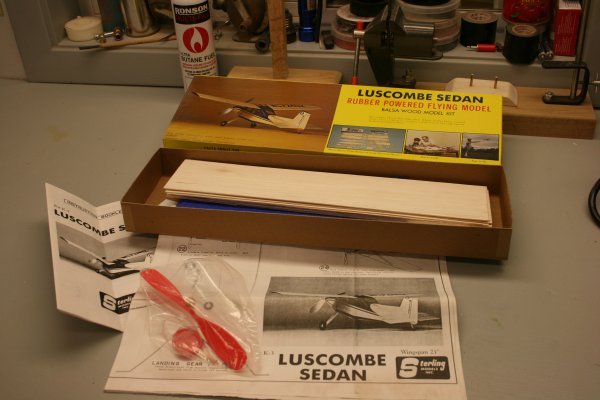
Aside from some minor fabrications of bulkhead by adding additonal pieces to strengthen them, the instructions sheet jumped right into gluing up the fuselage. I realized from the very start that good glue joints were going to be necessary to construct a solid model. I used a bamboo skewer to apply glue to the very thin edges of the front bulkhead and the tail, which I secured with a clothes pin to hold it until the glue dried.
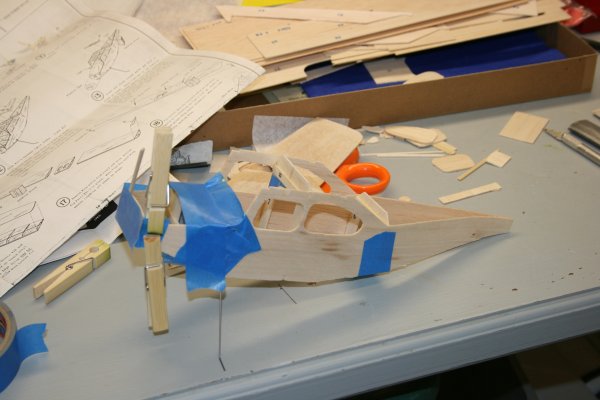
After letting the frist two glue joints dry over night I installed the remaining bulkheads. Getting all the bulkheads in place with good glue joints was a challenge. I had to spread the sides apart to install each bulkhead without having the previous bulkhead fall out. The fuselage sides had notches cut in them to hold everything in alignment and with the use of tape and clothes pins I was able to get everything in place and pulled into square. The wire landing gear was a straight piece of wire that I had to bend to shape and this added a convenient stand to help balance the fuselage while the glue dried.
The next step was to install the bottom of the fuselage. This piece extended from the tip of the tail to the nose of the airplane. Unfortunately I ran into a problem with this piece. Regardless of how I dry fit this piece on it fell short at the nose or at the tail. Since the tail of the plane seemed to be the most fragile I opted to slide the bottom to the tail and leave it short at the nose. My decision was based on the ability to correct this flaw by adding additional balsa wood so the bottom of the plane met the nose bulkhead. I applied a patch inside the nose as well as under it using plenty of glue and used hat pins and tape to hold everything in place 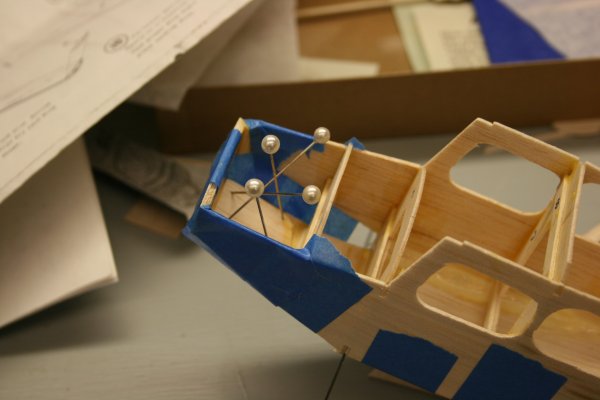
Following this step I glued the rest of the fuselage panels in place, some of them just slivers of balsa wood that completed the fuselage. At one point the instructions called for a metal washer to be glued inside the nose to balance the airplane but since I do not plan to fly the model I skipped this step. If you have any questions or comments please feel free to send e-mail. If you do not see a menu bar on the left you are missing a lot more information like this on www.breyfogle.com |