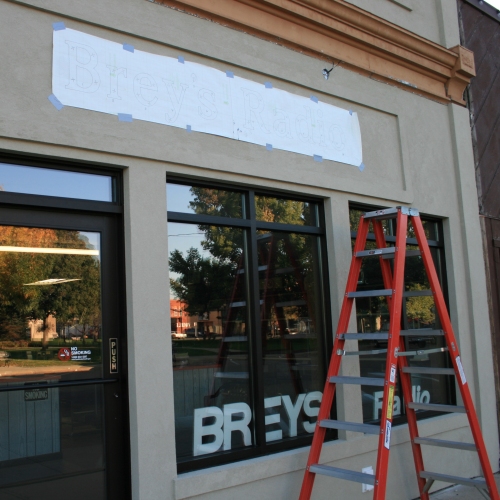
After the stucco was completed we were anxious to get the sign mounted and the new light fixtures installed. But we also had a painter contracted to paint the metal trim pieces and decided that the lighting would need to wait. But the sign would not present an obstacle for the painter so we waited for a day when the wind wasn’t blowing to begin the project. The sign vendor produced a drilling pattern for the letters and the first step was to center and tape the paper template to the front of the building.
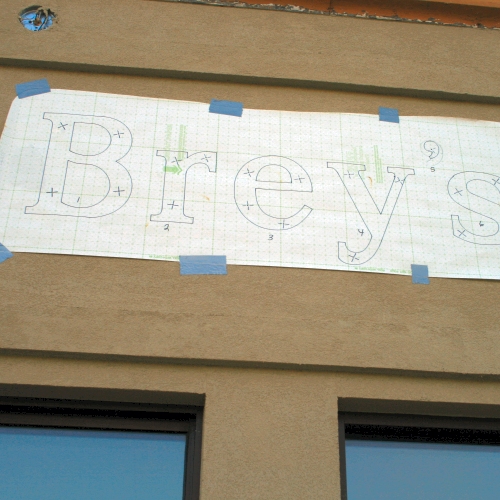
The sign letters, bronze colored plastic, had stud mountings installed at the factory. The vendor produced the paper template with each stud marked with a punch hole and a crossed line to make it easy to find. They also traced lines around the letters and marked each letter in the event that there was a slight difference in the stud mountings. I used a scratch awl to punch holes in the stucco surface and then used a masonry bit to drill holes to accept the studs.
With all the holes drilled I pulled the paper template down and began the letter installation. Before proceeding with each letter I checked to make sure the drill holes matched the studs on the letters. When I was sure they fit properly I used clear silicone caulk to fill each of the drill holes and then pressed the letter studs into the holes. For the most part all the letters fit perfectly and flat against the surface. The “r” in Brey’s was one that did not lie flat on the surface so I used a little duct tape to hold it onto the surface until the caulk had a chance to set.
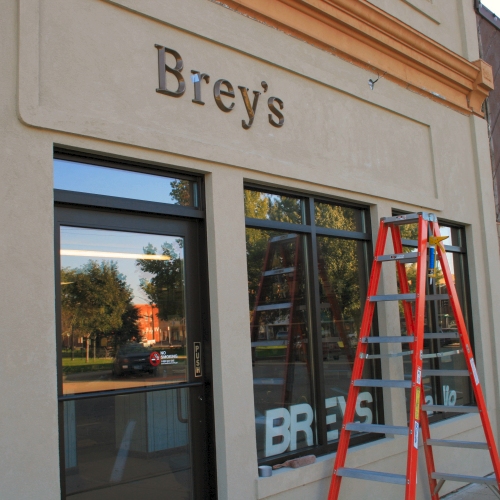
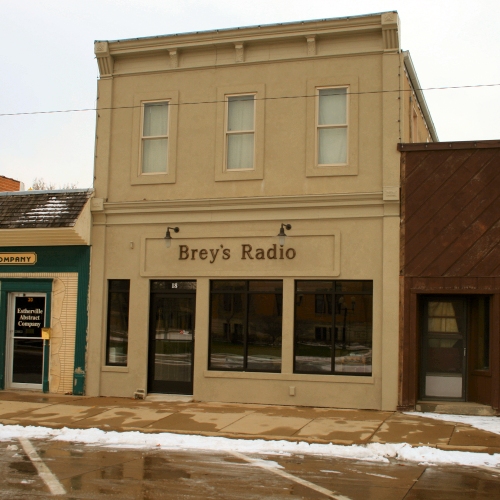
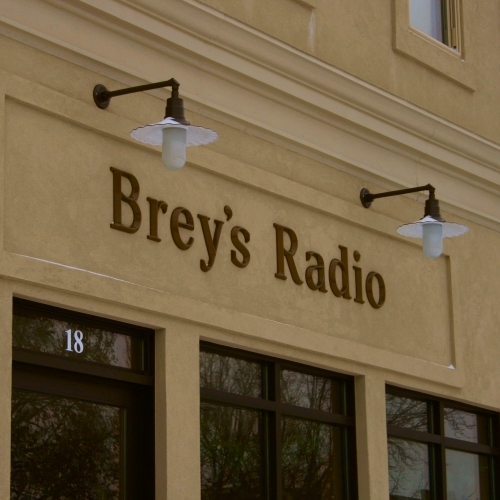
The picture above shows the completed sign and we removed all the old letters that were placed in the window as a temporary sign. The picture below was taken after the painter completed the trim paint.
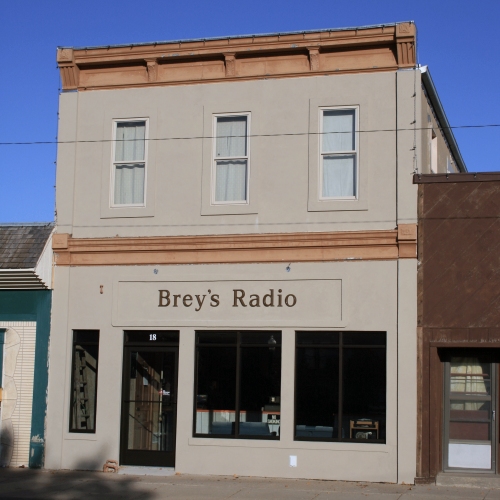
We installed the light fixtures shortly after the painting was completed. These are old style reflectors on short straight arms. The incandescent lamps (100 watt, 240 volt, running on 120 volt) provide an amber glow on the sign and produces a very vintage look.
Return to Brey's on Seventh Project Page