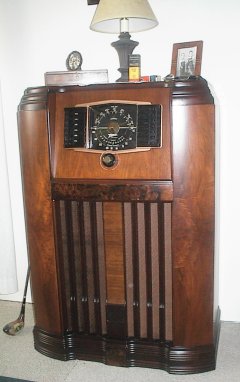
Sandy's mother purchased this radio for her father sometime in 1941 or 1942. It became a fixture in Sandy's Grandma Paris' house and it was passed on after their death. We received it several years ago and it is one of those things that need some work but just never found it's time.
Well its time is here. My dad has been restoring some old radio equipment and that got us thinking about sprucing the old radio up. You can see some of Dad's projects by clicking here. Our radio wasn't in real tough shape, not like some of this vintage.
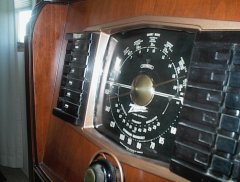
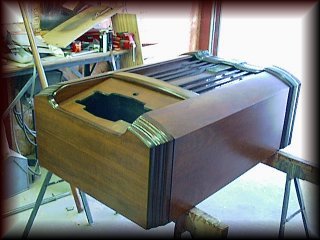
The tuner was the big problem. Years of spinning the dial looking for the Cubs games took its toll. The grill-cloth had holes at the base where grandchildren's little fingers picked at loose threads and the finish was becoming brittle. Dad took the radio chassis and speaker and we carried the cabinet to the shop.
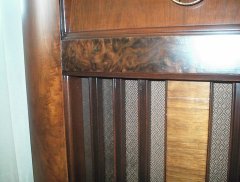
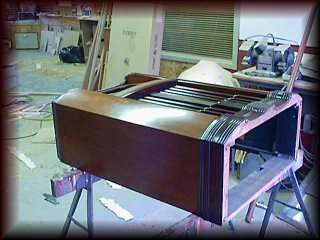
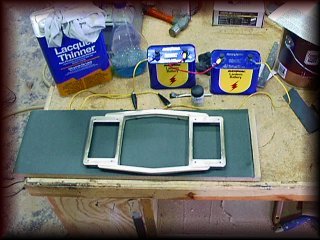
One of our first projects was to strip the finish and begin coloring the non-walnut trim. It was the habit of these early radios to use less expensive wood as trim and color them with lacquer. The pictures below show the cabinet after the coloring was finished and all of the cabinet had a single coat of finish.
This cabinet is some of the most beautiful walnut veneer that I have seen. The long slightly curved front pieces have a matched burl grain that was nearly obscure under the old finish. The horizontal piece between the top radio section and the speaker area had a faux painted burl. The wide center section in the speaker area had a similar painted scheme. Both of these were badly chipped and beyond repair.
I have purchased a piece of walnut veneer with a burl grain and will apply this to these two sections. I also found a place to buy reproduction grill-cloth that is very similar to the torn piece that was removed. I also found an answer to another problem from this supplier. (Antique Electronic Supply)
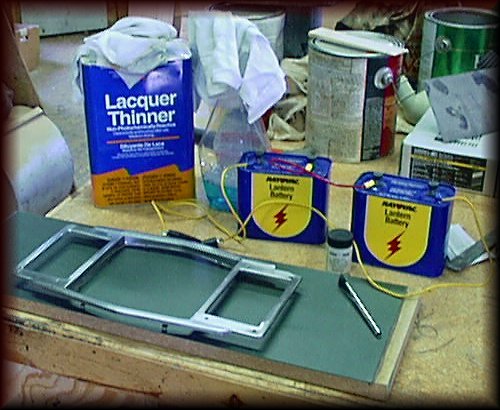
The bezel (metal piece surrounding the dial) had been cleaned so much that the finish was worn down to the base metal and some spots of rust had begun. We toyed with the idea of painting it but we have never been happy with the results. As I looked through the supplier's catalog I found a brush electroplating kit. The price? Very inexpensive, $3.50 for the brass plating solution and the same for the plating brush.
The instructions call for a thorough cleaning so after a close inspection I decided that paint stripper would take care of what looked like a lacquer clear coat. I was surprised to find that the bezel was not brass plated as we thought. It was simply sprayed with colored lacquer.
Here are some photos of this project.
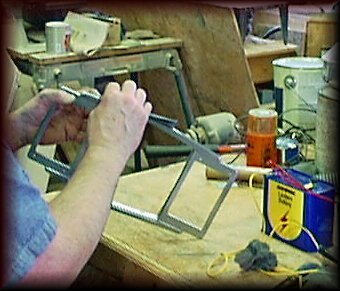
Following stripping I sanded and polished the steel.
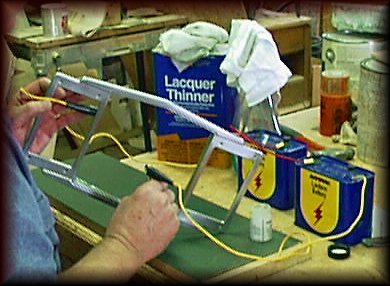
On the left bezel sanded and ready for plating and on the right I am plating the bezel.
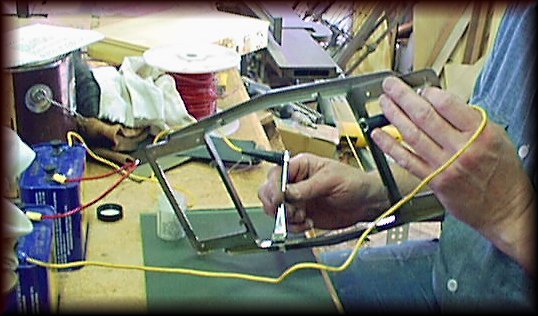
In this image you can see the battery connections to the bezel and to the plating brush.
The brass plating is not as heavy as it would be from a factory but the look is fantastic. It's not paint, rather real brass and it is bonded to the metal. The metal still looks it's age, yet has a fresh look that will look better than paint. I have begun spraying light coats of clear coat over the brass finish to prevent it from tarnishing.
Somehow time got away from me during this project and I did not get back to updating this page as the project neared completion. I completed the finish on the cabinet and installed the grill cloth. Over the week or so between putting the finishing touches on the cabinet and completing the plating problems developed with the brass plating. At first the plating appeared to lighten, as if it were fading away. Upon close inspection I noted that I had not gotten an even coat of brass on some of the inside corners.
So I removed the clear coat, sanded the entire bezel again (essentially removed all the brass), and re-plated the bezel. Again it looked great but I waited to clear coat it for a few days to see how it held up. Again the same results, it began to fade and rust started to appear. It was time to make a decision, plate it again or paint it.
Since the original bezel finish was not brass we decided that it was time to get the paint out and get this project finished. I picked up a bronze look metallic finish at the local hobby store and after cleaning up the bezel gave it a light coat of paint. The overall effect is good but we were disappointed that all the plating process did not work.
Here are a few pictures of the final product, what a wonderful old radio. It now looks as good as it sounds.