To return to the Kitchen Remodel Project click here .
Not every project is straightforward, it twists and turns through the house as one system touches another. When we purchased the house our first project was to split the large bathroom into a half bath and a smaller full bath. The plumbing was temporary in an effort to allow for changes in the future. We installed a low priced vinyl floor material and realized too late that the pedistal sink we chose was too large for the space.
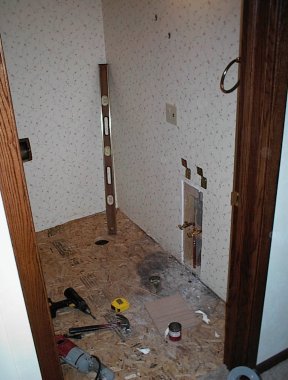
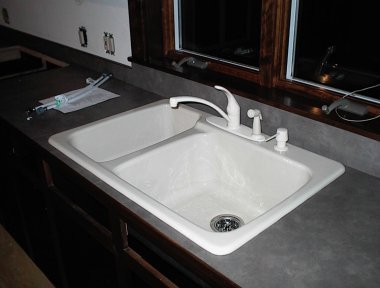
So all this leads to this project as an extension of the kitchen project. We decided to replace the pedistal sink and install the same flooring as we are using in the kitchen. This meant the replacement of the plumbing as well. We began by stripping the fixtures, trim and old flooring from the half bath. Then I cut a hole in the wall to make the necessary changes to the plumbing. The image below shows the result of a hard days work.
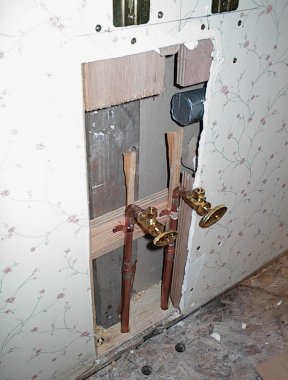
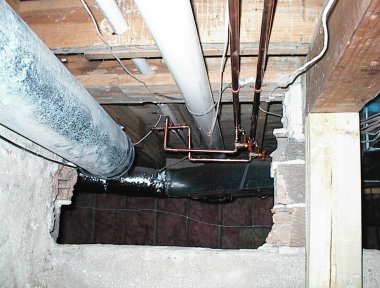
The next image is a close-up of the water supply hook-ups. The old sink was fed from lines coming through the floor and the waste (the duct-taped pipe above the water lines) was through the wall. This sink will have a waste line going through the floor inside the pedistal to the basement where the trap will be located. This will give it a much cleaner look.
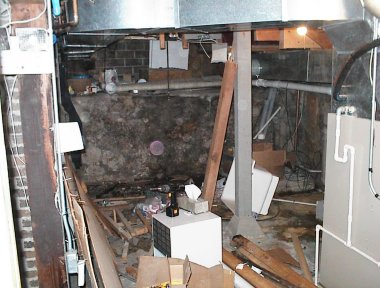
Now that the mainfloor is cleaned up it was time to move to the basement where the serious work would take the rest of the weekend. The next two images show the before shots of the basement South wall. The yellow plywood was part of the original bathroom that was in this house. Times were tough on the farm in the 30's and 40's; a basement bathroom was much preferred over the old out house. But the 90's brings a different way of life.
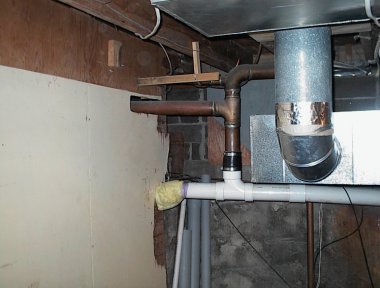
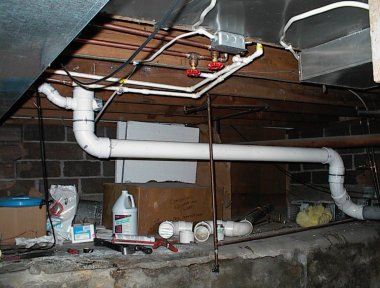
The white PVC waste line was installed by the previous owner when he installed a new septic tank. The old copper lines were from the remodel that added the main bath above this area. In the image below you can see the marks left by the old wall hung sink that has long since been removed.
The next images shows the demolition scene. I removed the yellow wall and found a variety of plumbing lines, some active while others were cut and capped off. I also found rotted wood and a general mess.
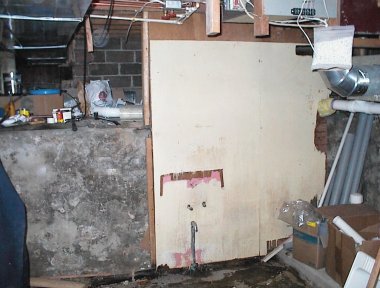
The next two images show the same area after it was cleaned and the new plumbing was installed. It looks much better, but there is more to do when we move to our Master Bathroom project. During this project we will build a master bedroom bathroom and remove the old full bath. It will be a great pleasure when that day arrives and I can strip out the remaining old plumbing.
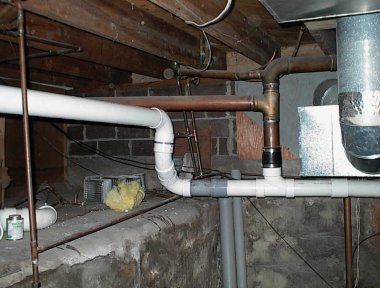
Remeber how I said that the project twists and turns? The next image shows another twist in this trail. We built a wet bar several years ago, but the sink has never been connected. So while I was plumbing and close to it, you guessed it, this image shows the plumbing as it heads South towards the bar sink.
The large 3" PVC pipe in the center of the image is actually the vent for the water heater. I installed the two copper water lines on the right side of the image along with the 1-1/2" waste line you see on the left. Boring holes through the joist was a challenge since there was nothing to measure against and the space to work was very limited. So where does this leave the project? The image below shows the bar sink in operation, now Dave can have a little water with that scotch without running to the kitchen.
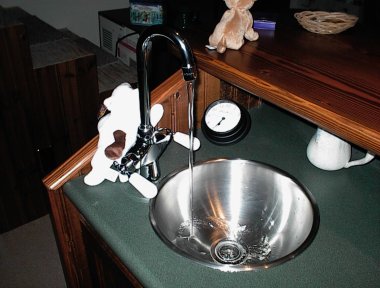
And the final image for this page is the kitchen sink with it's new faucet and soap dispenser installed. Following the bar and half bath plumbing I got the water and waste hooked up to the kitchen sink. I also roughed in the water supply for the island but will include details on this when the island is installed.
To return to Kitchen Remodel Project click here .