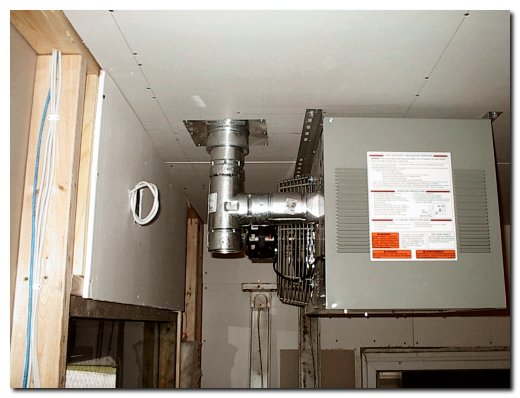
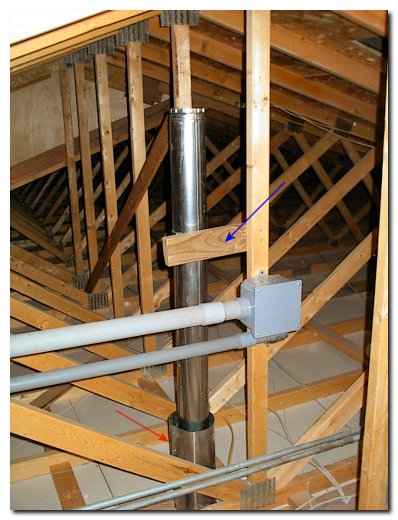
Tonights project began last night, even though we did not have an update on the site. We began with a trip to the home center to purchase the flu material to vent the suspension furnace. This furnace is approved for use on the close clearance Type B vent material. This consists of a two layer pipe and fitting that can have combustable material within an inch of the flu. I followed the furnace installation instructions for the layout and since I have never installed this type vent, I walked myself through it several times to make sure I was installing it to code. I began by cutting a hole in the sheet rock and then installed the "drip T" and then a transition from 3" to 4" pipe. The ceiling plate was made up to center the pipe an inch from the sheetrock so I used the round flange as a form and constructed an aluminum shroud (red arrow) that will keep the insulation 1" away from the flue. I used a 5' section of pipe attached to the transition and supported this with a clamp and stand-off. I marked this with the blue arrow, the 2 X 4 is attached to the vertical truss member and supports the flu. I need to install one more bracket lower and will have one more above to be sure everything is held in place.
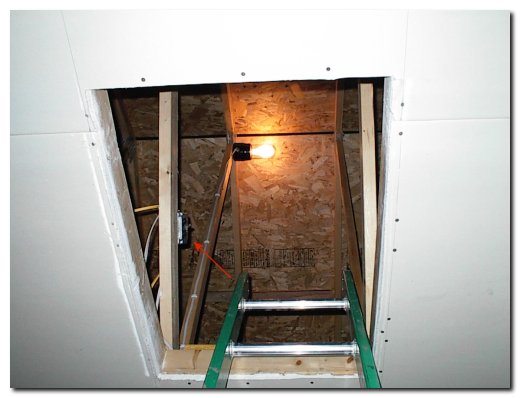
Before I could work in the attic I installed a permanent work light, which is controlled by the arrow marked by the red arrow below. I need to pick up another piece of pipe to exit the roof. I had picked up another 5 foot section but it will be too long once it is above the roof-line. Luckily I was able to locate the furnace in the shop so the flue exits to the south of the ridge line so a standard flashing will work, this also puts it in a position so that the gas line can enter the furnace without too many elbows.